
Story 59 - Courtenay Hill 1971
(A Photographic Review)
Courtenay Hill, a 250m feature, overlooking Courtenay Rubber Plantation, was used as a forward base a number of times during the involvement of the Australians in the Vietnam War. In June, 1971 HQ 1 ATF (Forward) was located on the feature during Operation Overlord. Following Operation Overlord 4RAR/NZ Bn progressively occupied the Hill and conducted a succession of operations, all generally astride Route 2, in the far north of the Province, ie from the north of the Hat Dich through the Courtenay Rubber towards the May Tao Base area; all well known areas for serious enemy Main Force activity.
These operations would continue to the first week of October 1971 when, following the premature departure of 3RAR on 6th October, 4RAR/NZ returned to Nui Dat to conduct the last defence of the Task Force Base.
104 Sig Sqn deployed with the HQ 1 ATF to the Hill during Operation Overlord. During the HQ 4RAR/NZ Bn occupation that followed, the Bn radio detachment from 104 Sig Sqn, was also located on the Hill. The Hill was extensively fortified with over 100,000 sandbags, barbed wire and claymore mines. Because of the rockly area, the sand and dirt for the sandbags was sourced off the Hill.

Photo: Aerial view of Courtenay
Hill (left) at the commencement of Operation Overload in June 1971.
On the photo right is Fire Support Base Cherie containing three
circular gun pits (US Army 155s) beside
Route 2. Centre right: De Courteray Platation Airfield.
Photo by John Tick and sourced via the AWM.
Comment from Ken Mackenzie: Near bottom of photo was the site of the Route 2 Command-Detonated Mine Incident, which was an attempt by the VC/NVA to get our (almost) daily Bn resup vehicle. Unfortunately, they hadn't counted on a US Army Artillery convoy travelling North up Route 2 that same day. Suffice to say they got the only empty truck on the convoy! The remainder of the convoy deployed anti-ambush drill and ridded both sides of the road with all calibres of ordnance. We heard the almighty "Boom" of the explosion and ran to the East side of the Hill to watch all the fun, especially the Cam My rubber-tappers breaking all sorts of olympic cross-country hurdling records, as they beat it in all directions - but mainly towards us! We started to get the over-shoots as well. And within minutes Loaches and Cobras were cruising around overhead.
The following photos highlight the involvment of the 104 Sig Sqn personal on the Hill late 1971.
 Photo:
104 Sig Sqn Callsign 85C SIGCEN and Radio
Relay from 110 Sig Sqn plus other
HQ 1 ATF ACV's at
Photo:
104 Sig Sqn Callsign 85C SIGCEN and Radio
Relay from 110 Sig Sqn plus other
HQ 1 ATF ACV's at
Courtenay Hill during Operation Overlord
June 1971.
Photo supplied by Pete Bird
 |
 |
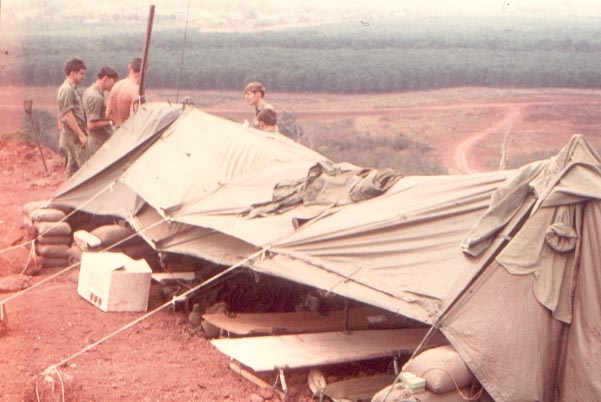 |
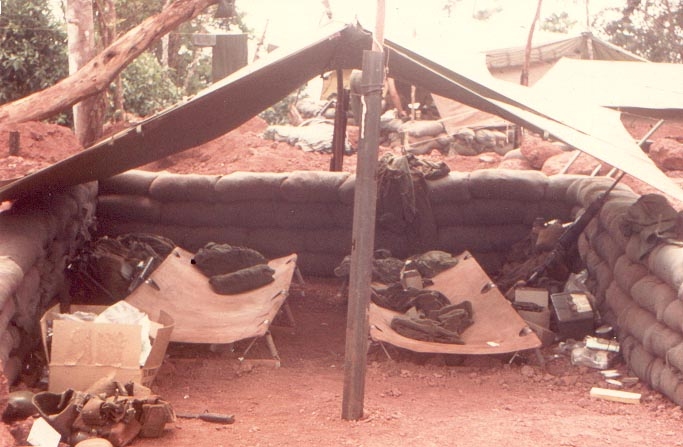
Photo 1
(Click to view large): Courtenay Hill 3RAR hootchies
(June 1971)
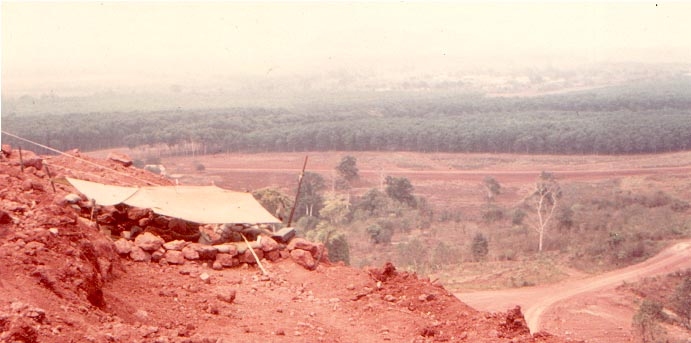
Photo 2 (Click to view large) :
View from Courtenay Hill (June 1971)
Photo 3 (Click to view large) :
104 Sig Sqn hootchies on Courtenay Hill (June 1971).
Three photos supplied by Robert (Flo) Florance.
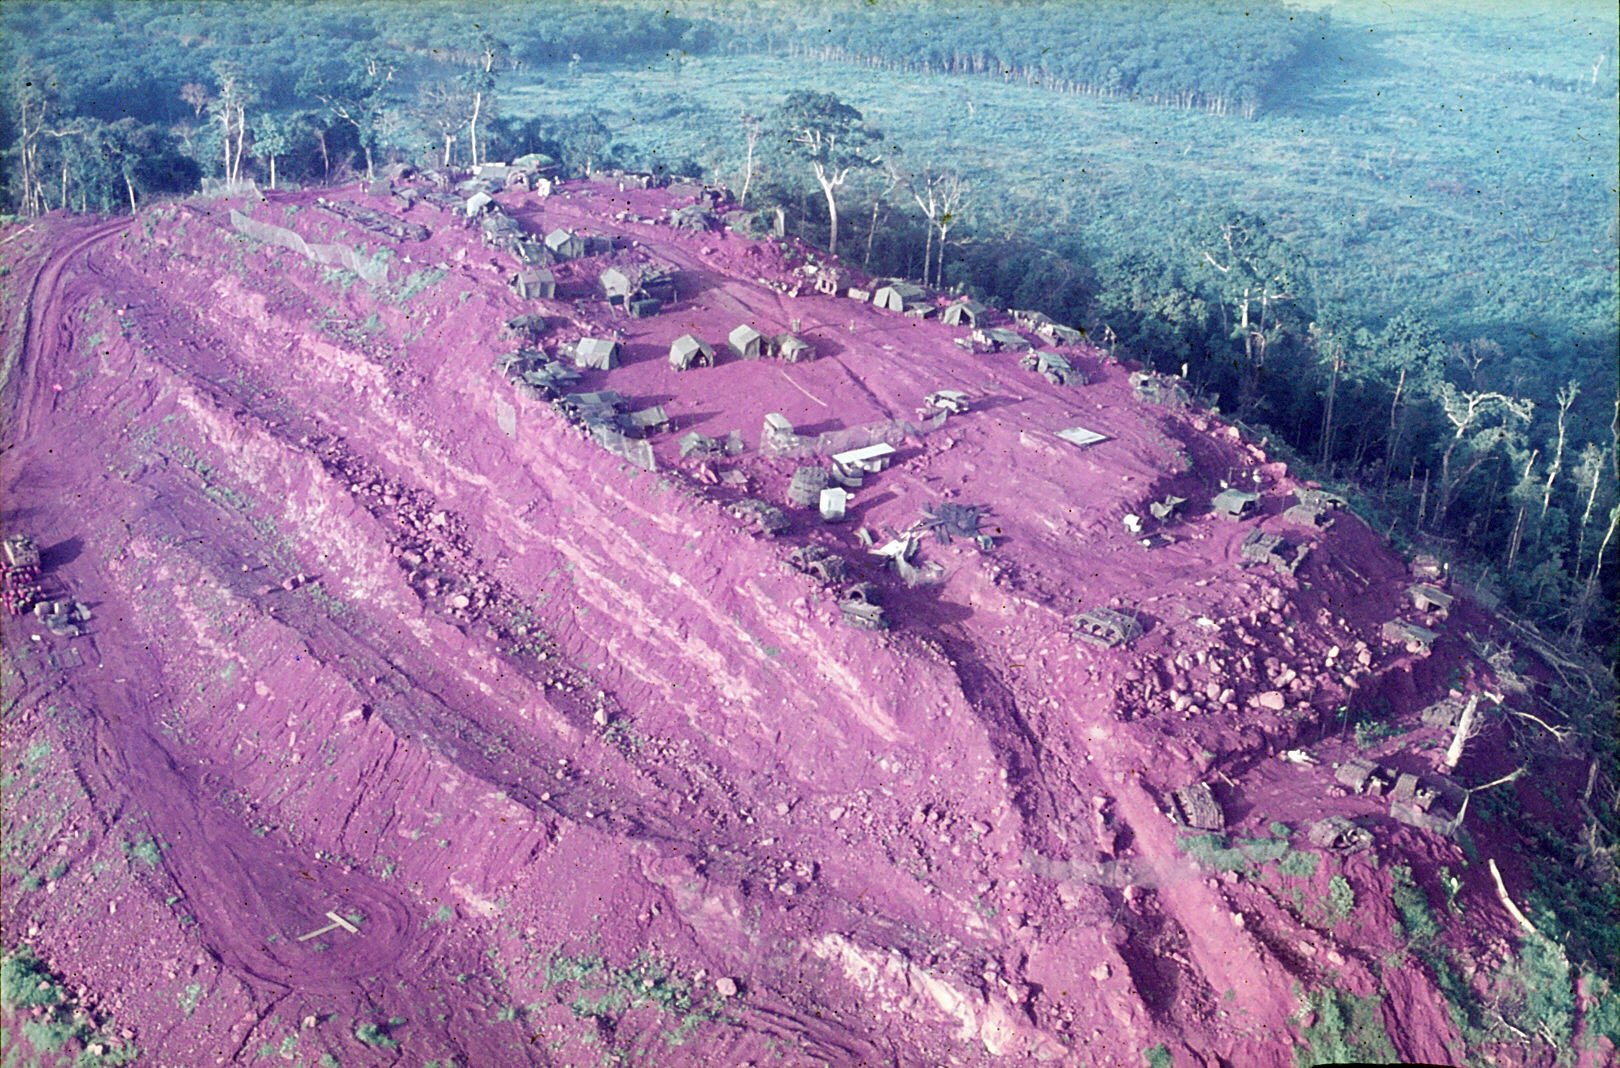
Photo: HQ 4RAR/NZ Bn on
Courtenay Hill September 1971. Photo supplied by Nev
Haskett
(Click for larger view in another
window)

Courtenay Hill photo (above) marked
up with detail site information by Ken Mackenzie
(104 Sig Sqn radio detachment Sgt at the time on the Hill)
Photo Details
|
1. Entry/Exit Road. 2. Support Company, 3 Cav and Visitor Sector. 3. OPs and Int. 4. Bn CP. 5. Base Defence Comd (OC and CSM Support Company). 6. 104 Sig Sqn RC-292 Antenna (West side of CP) for the Comd Net. 7. CO's Tent and Bunker. 8. Bn RAP. 9. Sig Det Bunker (104 Sig Sqn). |
10. Sig Platoon Shower Point.
11. Arty Sector Strong Point. 12. Toilet. 13. Toilet. 14. Heli Pad. 15. Pioneer and Tracker Platoon Sector. 16. Pioneer and Tracker Platoon Sector Strong Point. 17. Landing Zone 2. 18. APC refueling point. 19. Sig Platoon Strong Point. |
|
 |
 |
Photo 1
(Click to view large):
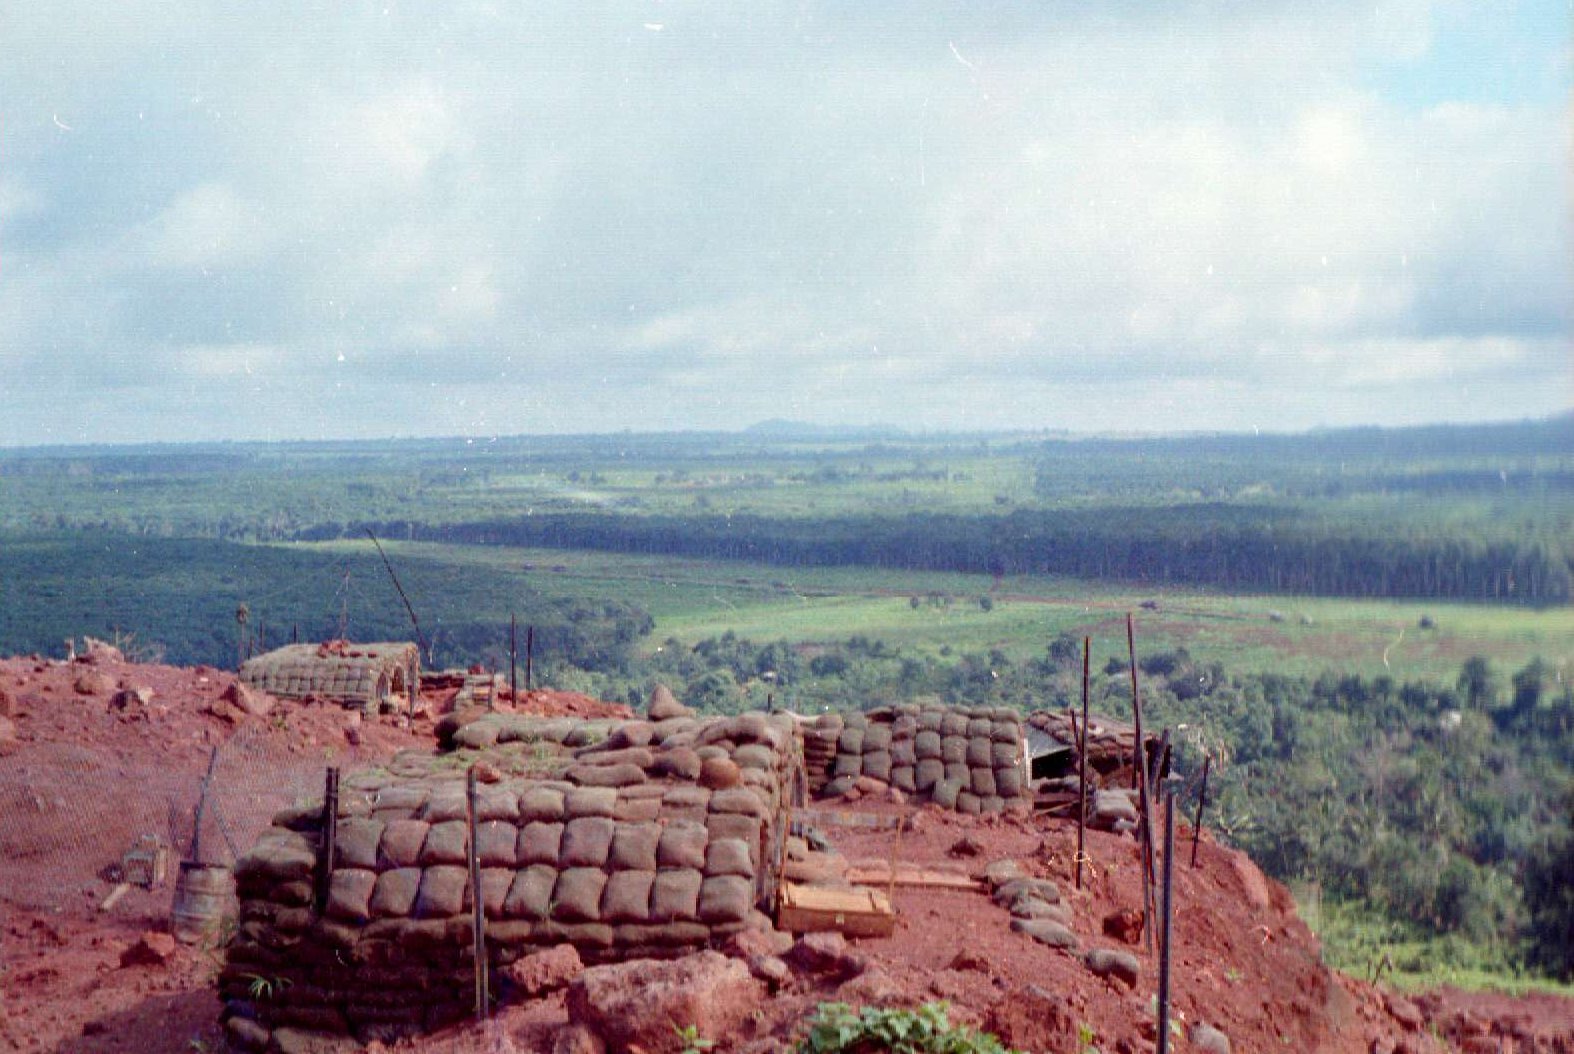
Homes with a view on Courtenay Hill. location 15
(see photo details above).
Photo 2
(Click to view large): 161
Recce Sqn Bell Sioux 47G sitting on OC Heli Pad. location
14 (see photo details above).
Photo 3 (Click to view large): 104
Sig Sq members filling sangbags. L-R. Bob (Dustoff) Martin and
Ken Mackenzie. location 5 and 6 area
(see photo details above).
The three photo were supplied by Nick Mazzarol.
 |
 |
 |
 |
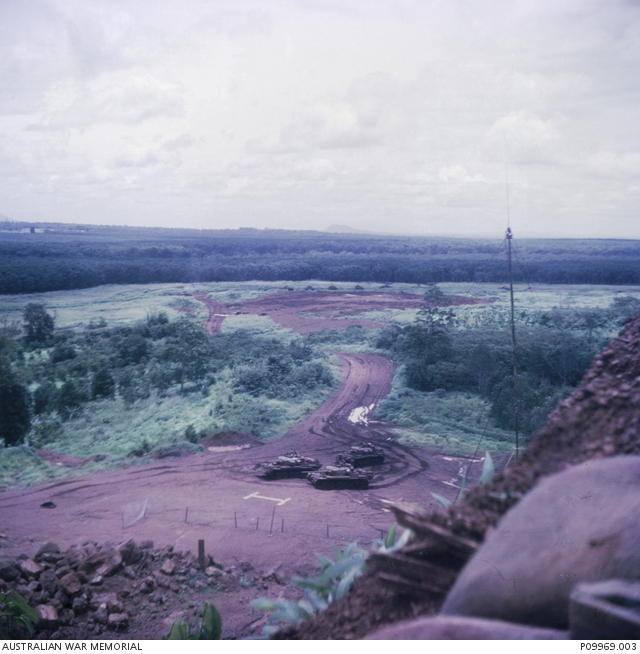
Photo 1
(Click to view large): View from Northern end of Courtenay Hill looking
East towards NDP Garth/FSB Cherie. Tanks in lager. Note RC-292 Antenna.
Viewed from location 16 (see photo
details above).
Photo 2 (Click to view large):
View from Northern end of Courtenay Hill looking East towards NDP
Garth/FSB Cherie.. Huey and APC in Tank
lager. Viewed from location 16 (see
photo details above).
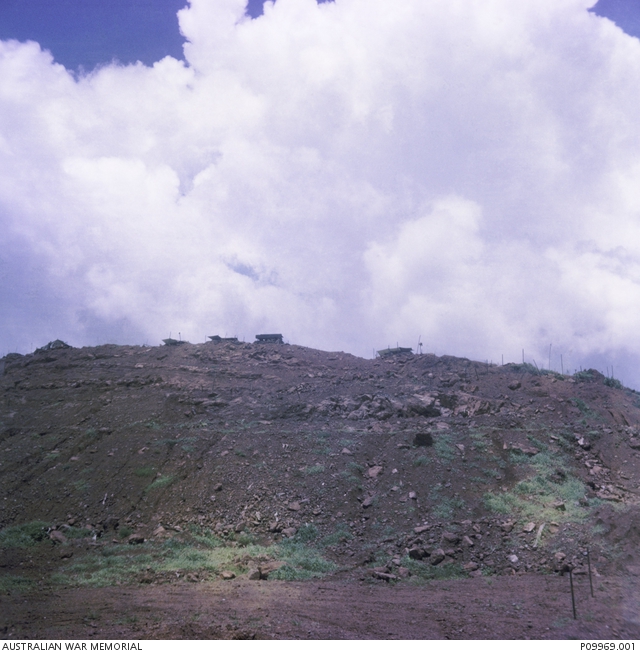
Photo 3 (Click to view large):
Looking West to Eastern side of HQ 4RAR/NZ Bn on Courtenay Hill.
Viewed from location 17 (see photo
details above).
Photo 4 (Click to view large):
View from South-Eastern side of Courtenay Hill looking East. Australian Army
International Mk IV 21/2 Truck can be seem
traveling on the road to the Hill. Viewed from location 1
(see photo details above).
Photos by LCpl Lindsay Spratt, 4RAR/NZ Bn and sourced via the AWM.
Back | Story Index | Next