|

55-1. L-R
Maj Keith Morel (OC), WO2 Stan Conlon (SSM), Lt Neil Horn and Lt Peter
Diddams at the 104 Sig Sqn Sgt Mess Bar. Photo supplied by Stan Conlon
[1969]
|

55-2.
L-R Sgt John Peek, Sgt Bob Ellis and WO2
Stan Conlon (SSM) in 104 Sig Sqn Sgt Lines. Photo supplied by Stan Conlon
[1969]
|
|

55-3. L-R
Cpl Wally Wojciechowski, Sgt Bill Garside and WO2 Stan Conlon (SSM) in
104 Sig Sqn Sgt Lines. Photo supplied by Stan Conlon [1969]
|

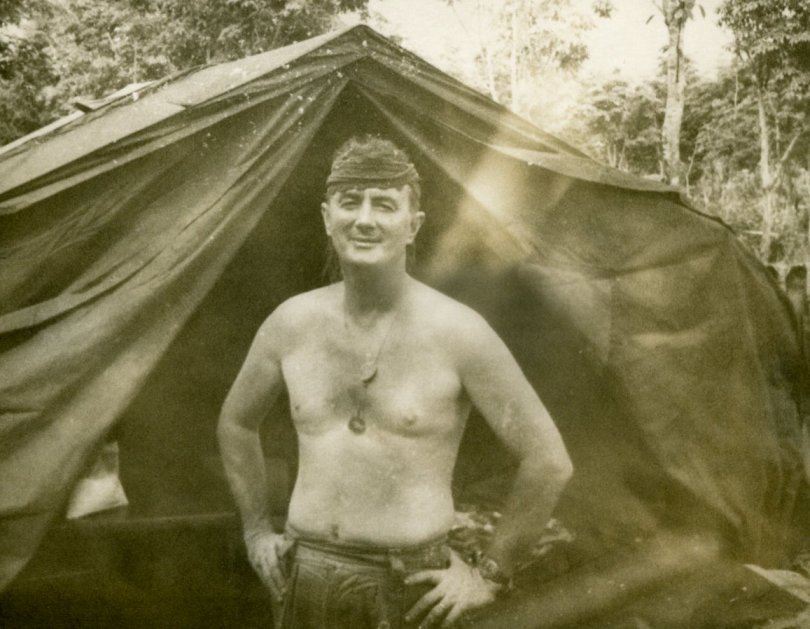
55-4. SSM Stan Conlon. Photo supplied by
Stan Conlon [1969]
|
|

55-5. RAAF Huey undergoing engine
repair in the field. Photo supplied by Stan Conlon [1969]
|

55-6. SSM Stan Conlon. Photo supplied by Stan
Conlon [1969]
|
|

55-7. Digger viewing a US Army Truck after
hitting road side bomb. Photo supplied by Stan Conlon [1969]
|

55-8. L-R
WO2 Stan Conlon (SSM) and Sgt Bill Garside (Sgt Cook) in Kings Row, 104
Sig Sqn Sgt Lines, Nui Dat. Photo supplied by Stan Conlon [1969]
|
|

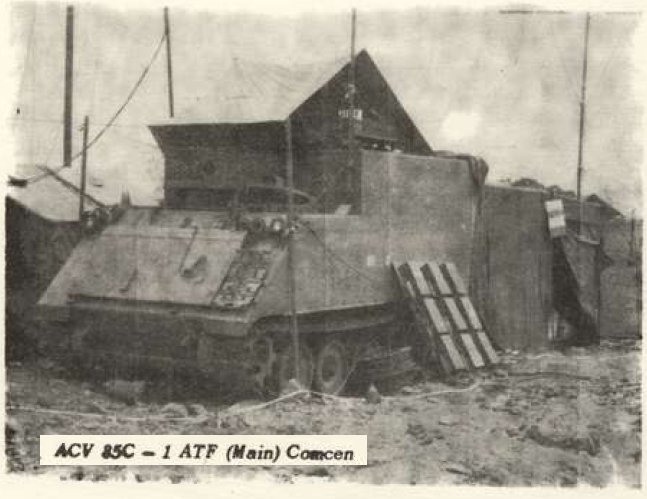
55-9. 1 ATF
(Main) Comcen - ACV 85C on Operation Overload. Photo part of Comms Report
in AWM 6-2-52 [Jul 1971]
See Photo 55-13 for Signal Area overview.
|

55-10. Radio
Shelter and Commcon on Tent on Operation Overload. Photo part of Comms
Report in AWM 6-2-52 [Jul 1971]
See Photo 55-13 for Signal Area overview.
|
|

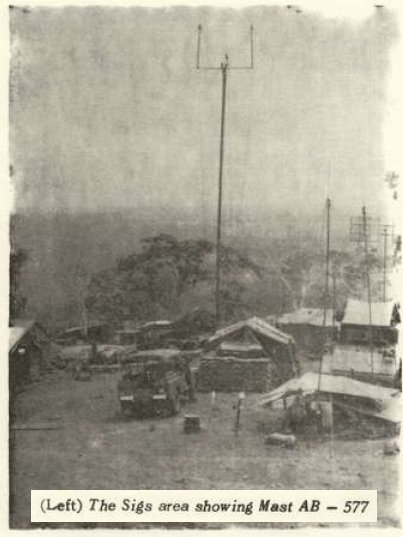
55-11. The
Signals Area showing the Mast AB-577 on Operation Overload. Photo part of
Comms Report in AWM 6-2-52 [Jul 1971]
See Photo
55-13 for Signal Area overview.
|

55-12. Operation Overload Signal Area.
Photo part of Comms Report in AWM 6-2-52 [Jul 1971]
See Photo 55-13 for installation details marked
up.
|
|

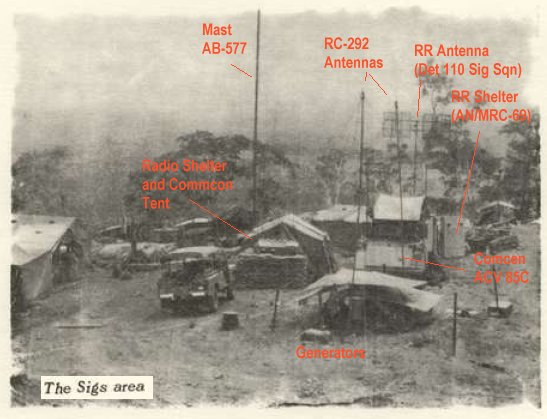
55-13. Operation Overlord Signals Area Photo
55-12 marked up to show key installation parts featured in Photos 55-9,
55-10 and 55-11. Photo part of Comms Report in AWM 6-2-52 [Jul 1971]
|

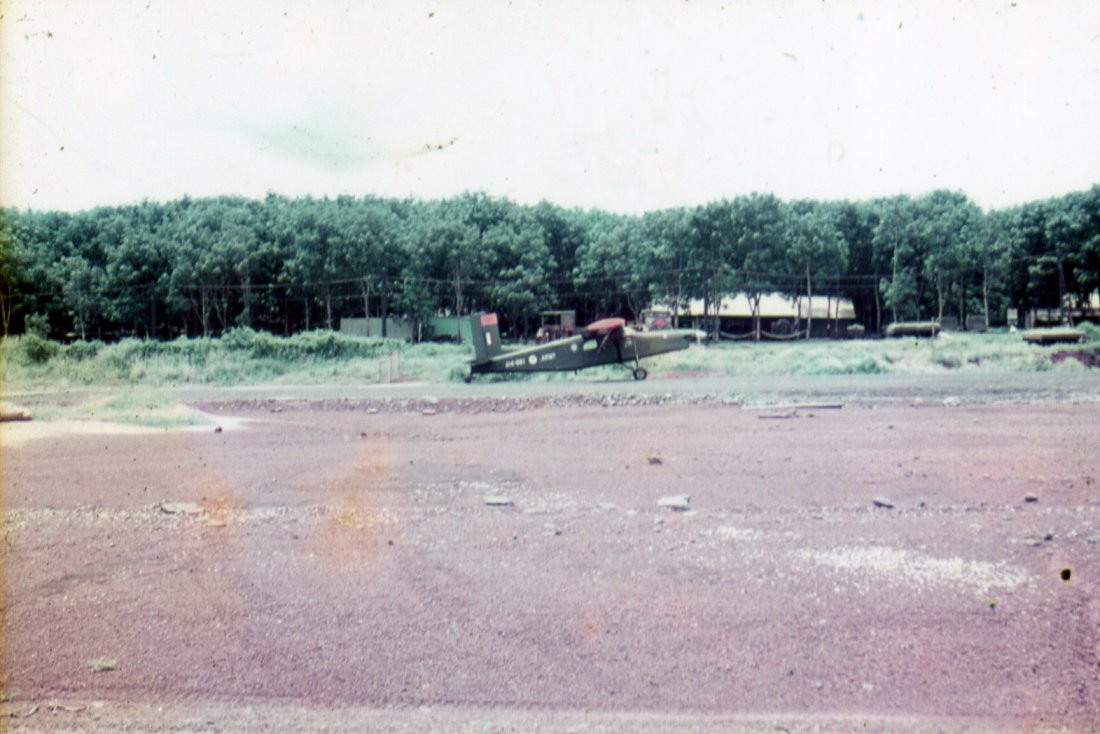
55-14. 161 Recon Sqn, Pilatus Porter at
Luscombe Field, Nui Dat. Photo supplied by Kerri Patch (Wife of Ronald
Patch, Dec) [1971]
|
|

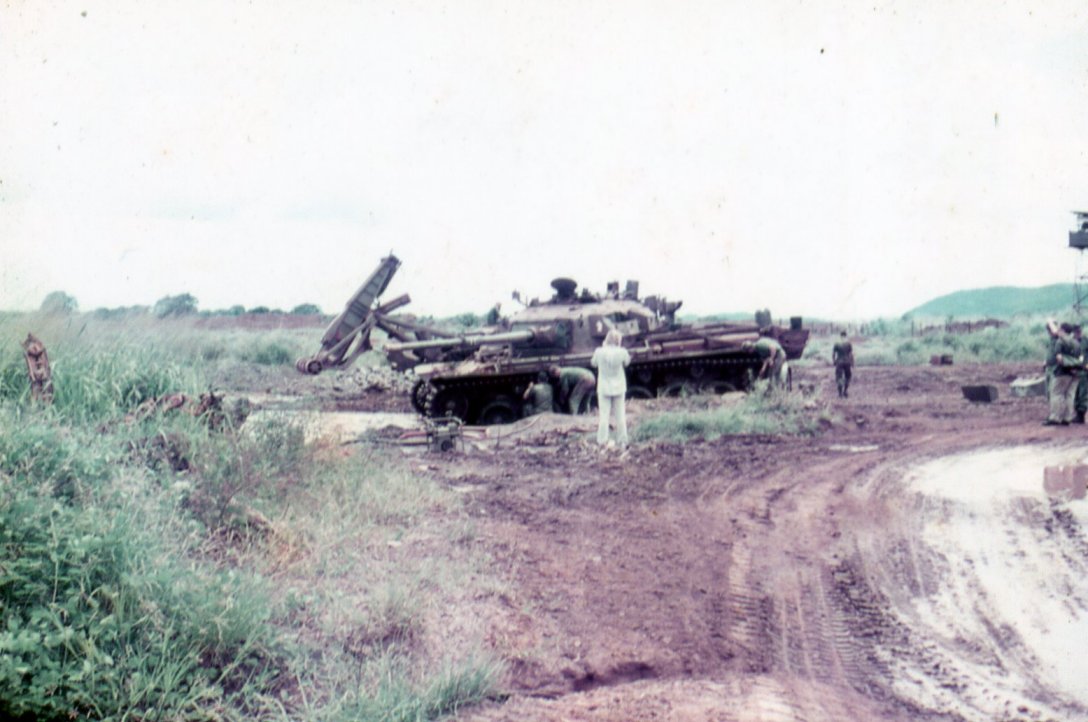
55-15. Centurian Tanks (Bridge Layer Tank
behind Battle Tank). Photo supplied by Kerri Patch (Wife of Ronald Patch,
Dec) [1971]
|

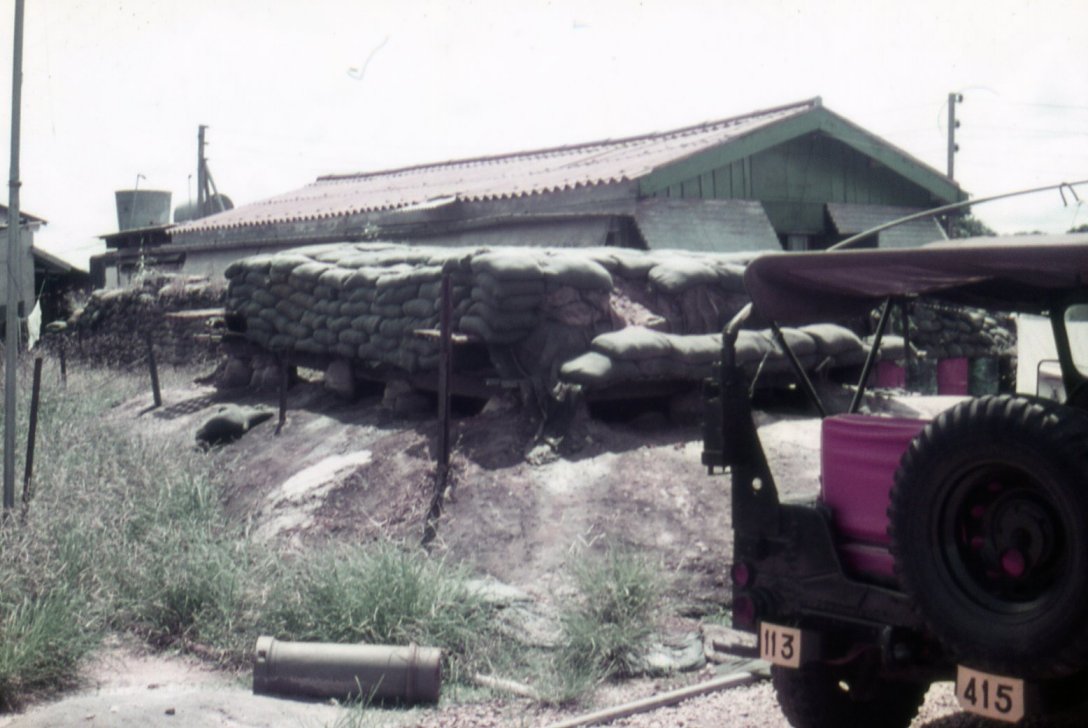
55-16. Strong Point Bunker. Photo supplied by
Kerri Patch (Wife of Ronald Patch, Dec) [1971]
|
|

55-17. ARVN Soldier at ARVN Post. Photo
supplied by Kerri Patch (Wife of Ronald Patch, Dec) [1971]
|

55-18. Cpl MacKrill from AATTV at ARVN Post.
Photo supplied by Kerri Patch (Wife of Ronald Patch, Dec) [1971]
|